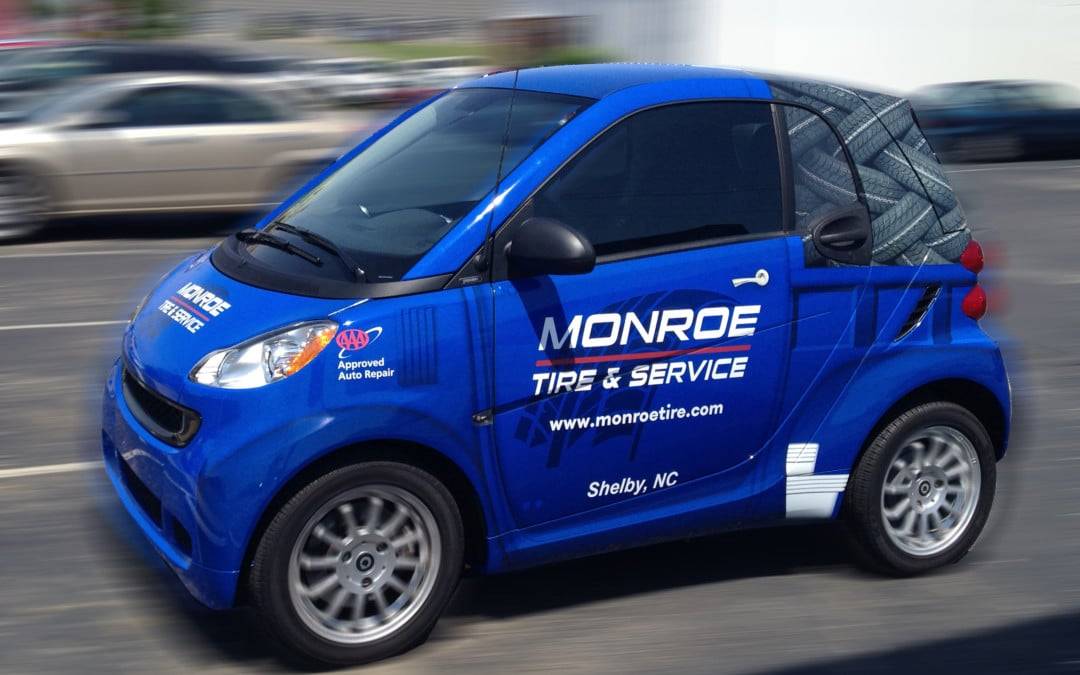
With a good guide from your graphics provider, you can wrap your own vehicle like an expert. However, it will take time, patience, and planning. Most graphic designers can tell you of how people have attempted to wrap their vehicles but were not pleased with the results. The good news is that, if you take enough time on the process, you can actually do a good job. We have created a list of the steps you need to take, but you will need the assistance of an expert when selecting the wrap material.
• Thoroughly clean and dry your vehicle to eliminate any spots of grease and film. Go for the hard to reach areas because it is dirt or debris on areas like this that can make the vinyl fail to adhere properly.
• Apply a primer designed for your specific vehicle. While most people may forget this step, it is important to apply primers in all the nooks and crannies.
• Carefully detach exterior equipment such as side view mirrors, light casings, trims and moldings. This is like painting the interior of a room, so it is best to remove all these parts instead of painting around them.
• Be careful to confirm all measurements and placements as per the instructions provided by the designer. Make sure the wrap will match up correctly.
• Have a formula and sequence to apply the graphic. It is good to know where to start and what to do next. In case of creases or bubbles, use smooth strokes to eliminate them.
• Cut the excess material using a razor. You can use the same razor to cut around rivets and bolts.
• Where there are complicated angles and curves, apply small amounts of heat to make the vinyl smooth. A lighter may be the best for this.
If this procedure is too much for you, a simpler option would be to install decals. These are smaller, so won’t need to cut around edges. They are just as attractive and effective.
Alternatively, you can contact a professional company to handle the project for you. For quality vehicle wraps, visit https://carwraps.com/.